Upload a website and create a preview
Static hosting serves HTML, CSS, images, and browser JavaScript. Use it for portfolios, product demos, and event pages. Check your files locally, create a shareable preview, then publish to your own domain for long-term use.
1. Prepare your website files
| What you have | What to select |
|---|---|
| One self-contained HTML file | Select file |
| HTML, CSS, images, and other files | Select folder, selecting the website output directory |
| A ZIP archive | Select file |
| A complete HTML document from an AI tool | The Paste code tab |
| No website yet | The Examples tab |
Keep relative paths intact. Your website root must contain a non-empty index.html:
website/
├── index.html
├── style.css
└── images/
    └── cover.jpg
Opening the selected directory should show index.html directly. For a ZIP, compress the contents of the output directory so index.html appears at the first level, avoiding an unnecessary outer dist/ or website/ folder.
For framework projects, upload the built or statically exported output, such as dist or out. Do not upload a source repository containing package.json, src, or node_modules. Node.js, PHP, Python services, and databases need a separate backend.
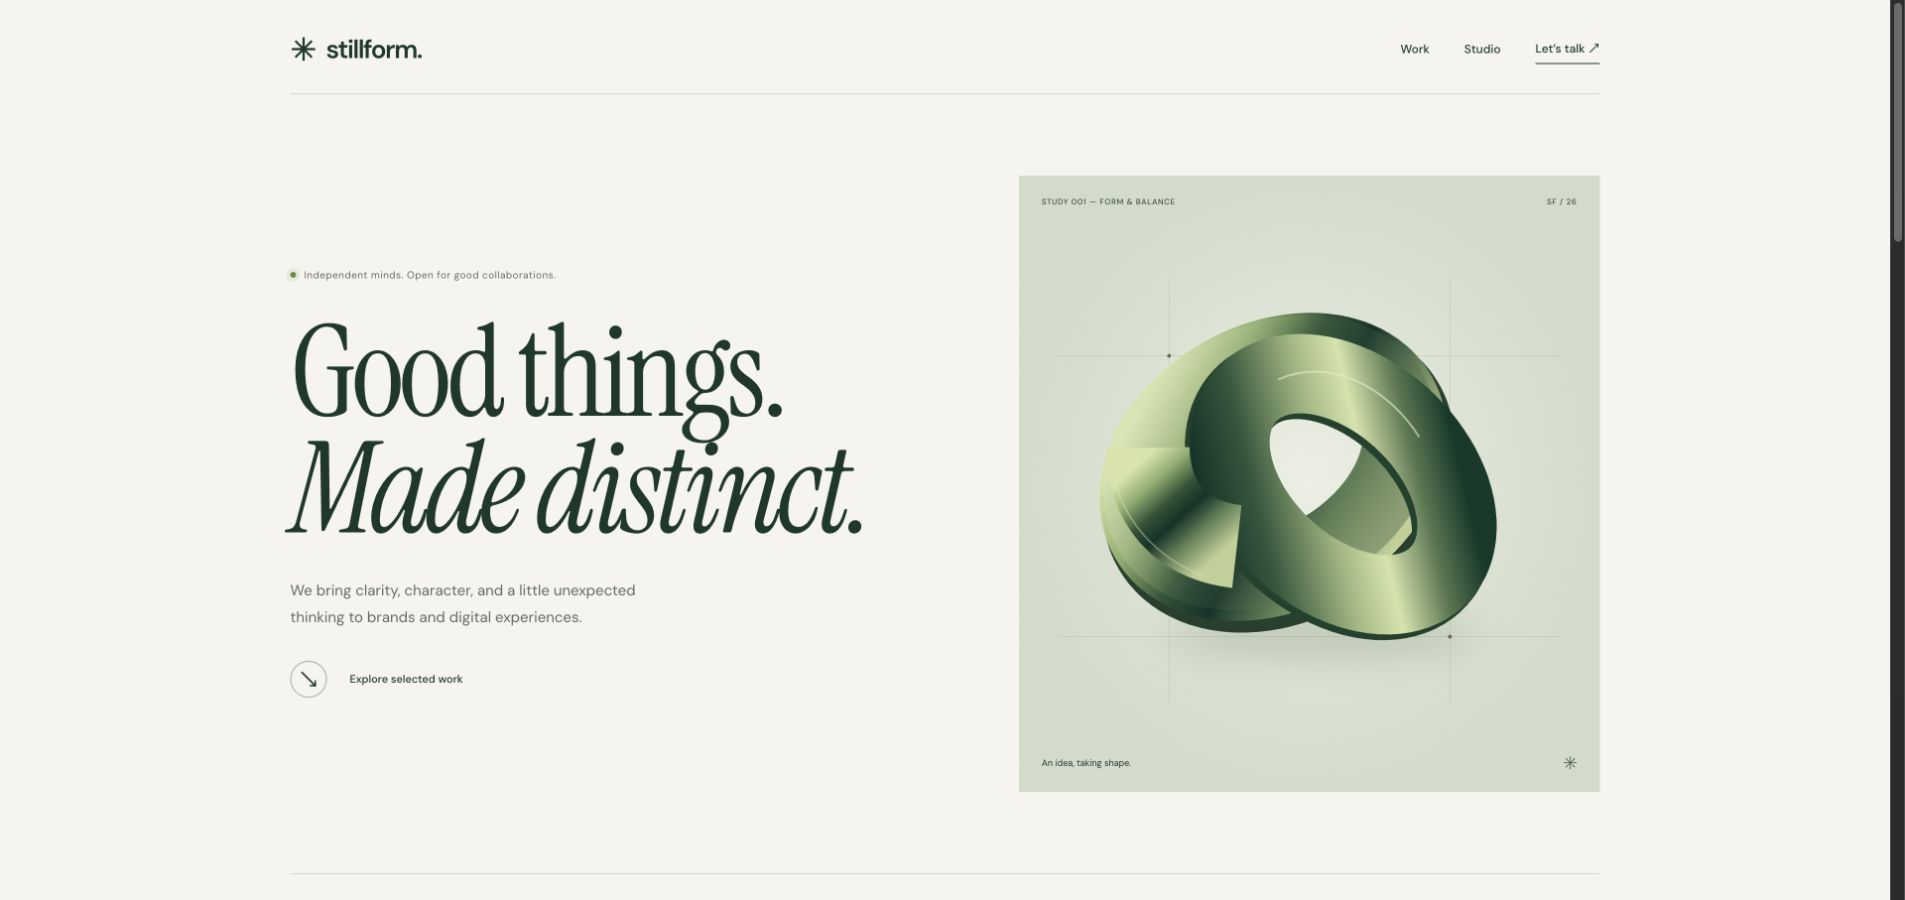
You can download the example HTML used in this guide and save it as index.html. Stillform is a fictional English-language design studio with original artwork, a portfolio, expandable project notes, and a contact section. Fonts, artwork, and styles are embedded in one file; no external resources or backend are required. The demonstration email address uses the reserved example.com domain.
2. Import and check the local preview
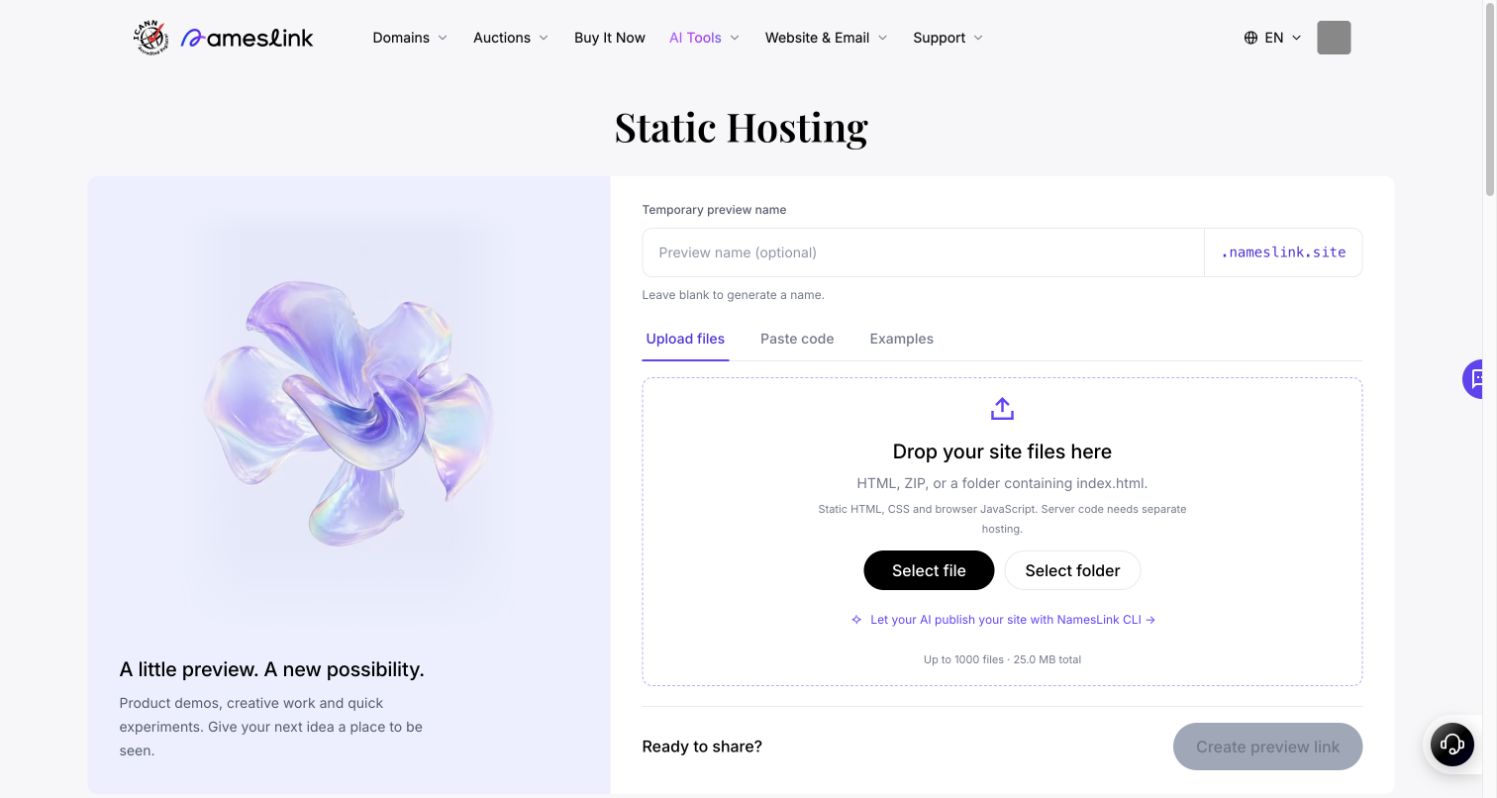
Open the static hosting upload page. Select your files or drag them into the upload area. Selecting files and checking the local preview do not require sign-in.
Account details are masked in these screenshots. Select an image to view it at full size.
After import, the preview appears on the left. The right side shows the filename, file count, and size. Switch between desktop and mobile layouts. For a single HTML file, use Edit code to make changes.
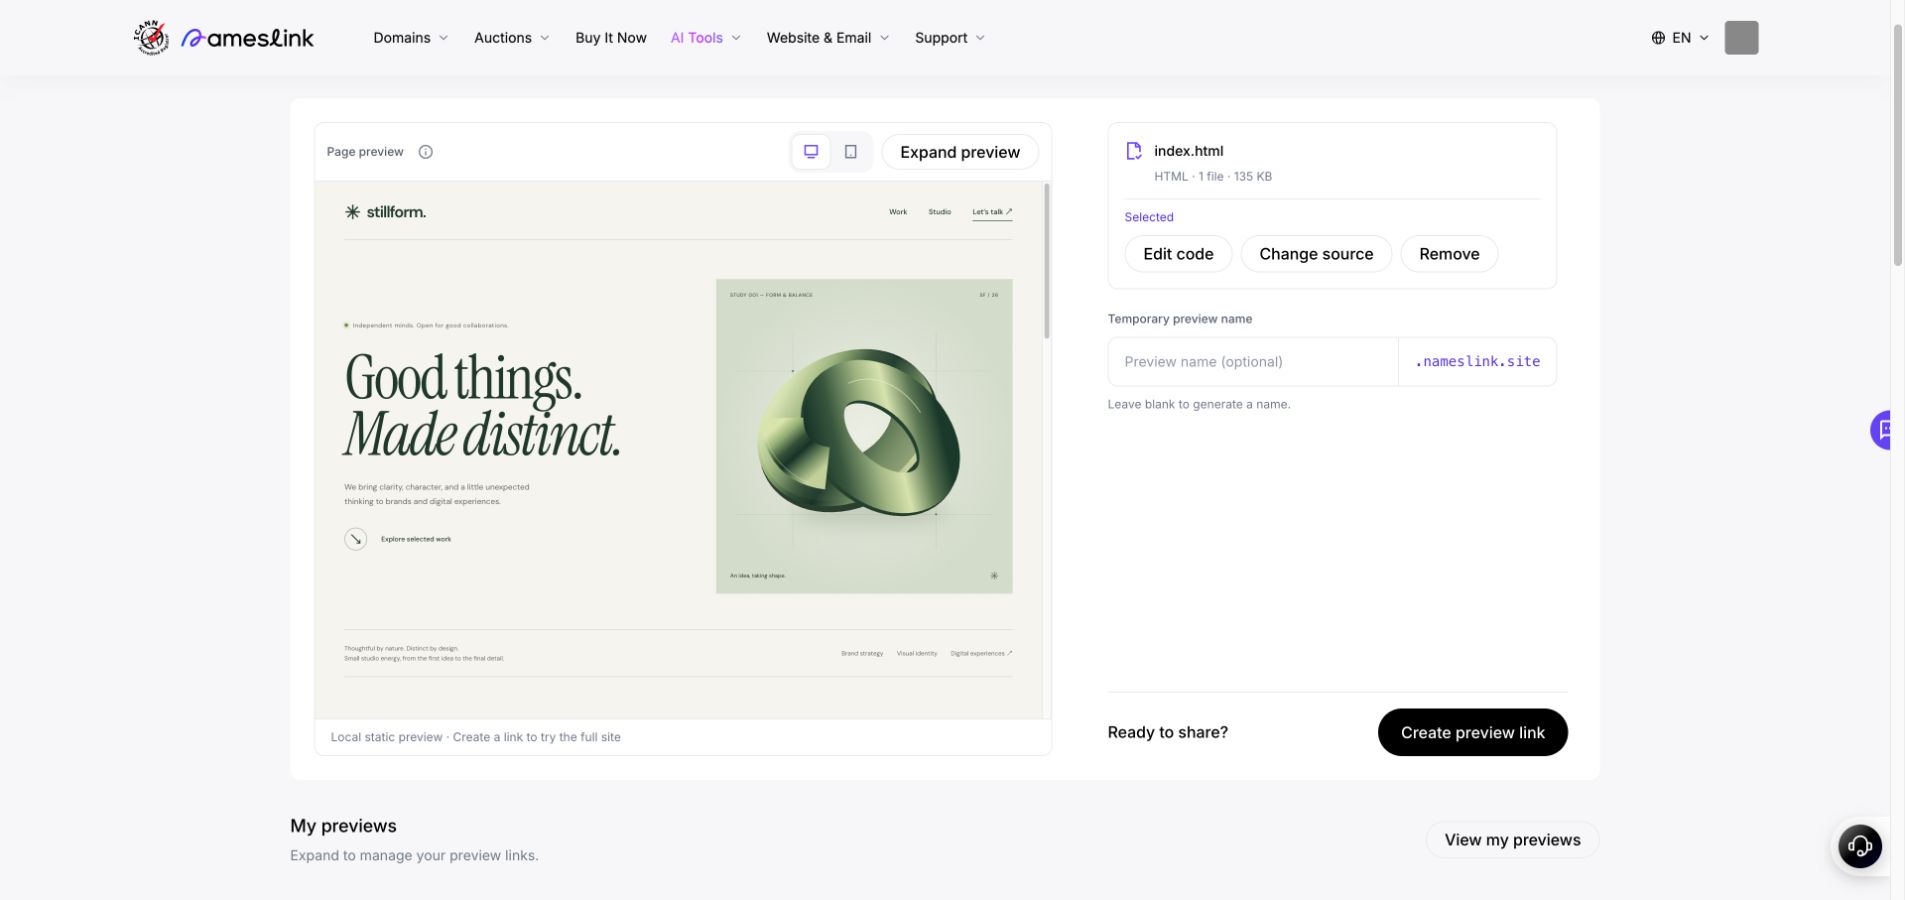
The local preview checks static appearance. It disables scripts and network requests. JavaScript buttons, remote fonts, external images, or APIs may not work here. Test full interactions using the shared link created in the next step.
3. Create a shareable link
- Optionally enter a temporary preview name. Leaving it blank generates one automatically; a requested name still needs an availability check.
- Select the preview-link button. Sign in to NamesLink if prompted.
- Creating the link shares the selected files through a temporary preview. Follow any additional confirmation shown on the page.
- Wait for the link, open it, and check images, styles, navigation, and interactions before sharing. Use Publish site to continue to domain selection for long-term hosting.
New temporary previews normally last 3 hours; use the actual expiration returned by the page. A temporary link is not a permanent website. Long-term hosting requires a separate domain publication. Treat a preview URL as public: anyone with the link can open it. Search-indexing restrictions do not protect confidential content. Do not upload private material or credentials.
Limits and next steps
The current web uploader allows up to 1,000 files and 25 MiB total. ZIP contents are also checked after extraction. Follow the limits shown for your current upload; CLI limits come from your account's capability response.
- Import errors: Import and preview troubleshooting.
- Long-term access: Publish, update, and restore.
- Terminal or AI-assisted workflow: Publish a static website with the CLI.