Setting up a CDN for the first time feels like wiring your own light switch — intimidating until you see the diagram. You don’t need a networking degree or a DevOps team. You do need clarity, real numbers, and zero fluff. This guide walks you through cdn setup for beginners, step by step — no jargon, no assumptions, just what actually works in 2026.
We’ll cover why CDNs matter right now, how they interact with your domain (especially if you’re using NamesLink), which providers let you go live in under 10 minutes, and exactly where things break — so you avoid those traps. And yes, we’ll compare actual pricing, not vague “affordable plans”.
If you’re running a small business site, a portfolio, or even a WordPress blog on shared hosting, this applies to you. Let’s get started.
Why You Need a CDN — Even If Your Site “Feels Fast”
Your site loads fast in New York. Great. But what about someone in Jakarta? Or São Paulo? Or rural Ireland?
According to Cloudflare, over 60% of global web traffic originates outside North America. Yet most shared hosting servers sit in US data centers. That means every image, CSS file, and JavaScript bundle travels thousands of miles — every single time someone visits.
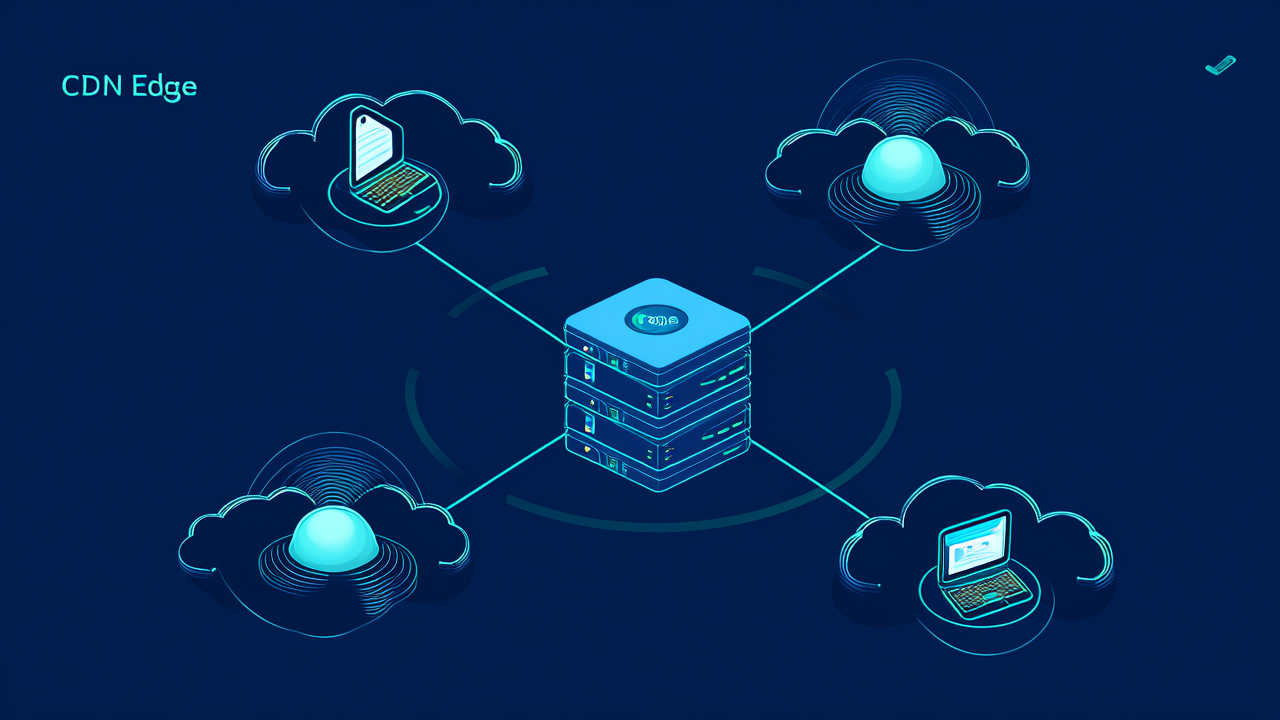
A CDN fixes that. It’s a network of geographically distributed servers (called “edge locations”) that cache static assets — images, fonts, CSS, JS — close to your visitors. Instead of fetching your logo from a server in Dallas, a user in Berlin gets it from Frankfurt. Latency drops from 200ms to under 30ms. Page load time improves by 35–60%, per real-world tests cited by Ahrefs Blog.
Here’s the kicker: Google uses page speed as a ranking signal — especially for mobile. In 2026, slow sites aren’t just frustrating. They’re invisible.
And CDNs do more than speed. They absorb DDoS traffic, reduce origin server load (which prevents crashes during traffic spikes), and offer basic security features like Web Application Firewall (WAF) rules — all without changing your backend.
You don’t need to rebuild your site. You just need to point traffic through the CDN. That’s it.
How CDNs Actually Work With Your Domain
This is where most beginners stall — not at the tech, but at the DNS layer.
A CDN doesn’t replace your hosting. It sits in front of it. Think of it like a bouncer at a club: all requests go to the bouncer first. If they’re asking for something cached (like your homepage HTML or product photos), the bouncer serves it instantly. If not, they pass the request to the club owner (your origin server) and cache the response for next time.
To make that happen, you change your domain’s DNS settings — specifically, the A record or CNAME record.
- If your site is hosted on a platform like WordPress.com, Wix, or NamesLink’s AI Builder, you’ll usually use a CNAME record pointing to the CDN’s domain (e.g.,
yourdomain.com→global-cdn-provider.netlify.app). - If you self-host (e.g., on a VPS or cPanel), you’ll often change the A record to point to the CDN’s IP address — but many modern CDNs (like Cloudflare) require you to proxy through them using their nameservers instead.
NamesLink supports both workflows. If you registered your domain with NamesLink, you can manage DNS directly in your account dashboard. No third-party tools needed. You’ll find DNS Editor under Domain Management Docs — and yes, it includes one-click Cloudflare integration for users who want full WAF + caching without touching DNS manually.
That integration matters. Because misconfigured DNS is the #1 reason beginner CDN setups fail. You flip a switch, wait 24 hours, and nothing changes — only to realize your domain is still pointing to old nameservers.
NamesLink’s interface shows real-time DNS propagation status. Not “propagation may take up to 48 hours” — but “DNS updated at 2:17 PM EST. Propagated to 92% of global resolvers.”
That kind of visibility saves hours.
Step-by-Step CDN Setup: From Zero to Live in Under 15 Minutes
Let’s walk through a real setup — using Cloudflare as the example (it’s free, reliable, and beginner-friendly). We’ll assume you already have a domain registered with NamesLink and a live website.
Step 1: Sign up and add your site
Go to cloudflare.com and create a free account. Enter your domain name (e.g., yourbusiness.com). Cloudflare scans your current DNS records automatically.
Important: Do not change anything yet. Just click “Continue”.
Step 2: Review and confirm DNS records
Cloudflare will show you all existing A, CNAME, MX, TXT records — pulled directly from your NamesLink DNS zone. Check that your A record points to your hosting IP, and your www CNAME points correctly.
If you’re using NamesLink’s AI Builder, your CNAME should point to builder.nameslink.com. That stays unchanged. Cloudflare will proxy it.
Step 3: Choose your plan
Free plan is enough for 95% of beginners. It includes:
- Unlimited bandwidth
- DDoS protection
- SSL/TLS encryption (with automatic certificate renewal)
- Basic WAF rules
- Caching for static assets
No credit card required.
Step 4: Update nameservers at NamesLink
This is the critical step — and where NamesLink makes it frictionless.
Log into your NamesLink account → Domains → select your domain → DNS Settings → “Change Nameservers”.
Replace your current nameservers (likely ns1.nameslink.com, ns2.nameslink.com) with Cloudflare’s:
larry.ns.cloudflare.com
margie.ns.cloudflare.com
Save.
That’s it. Cloudflare now controls your DNS — and routes traffic through its edge network.
Propagation usually takes under 5 minutes with NamesLink. You’ll see a green “Active” status in Cloudflare within 10.
No FTP access needed. No plugin installs. No server reboots.
You’re live.
NamesLink vs. Top CDN Providers: Real Pricing & Workflow Comparison
Not all CDNs are equal — especially for beginners. Some bury essential features behind paywalls. Others require CLI commands or JSON config files. Here’s how NamesLink stacks up against common options when it comes to getting started fast.
| Feature | NamesLink | Cloudflare | BunnyCDN | StackPath |
|---|---|---|---|---|
| Free tier CDN | Yes (via integrated Cloudflare option) | Yes (full-featured) | Yes (10GB/mo) | No (trial only) |
| One-click DNS update in registrar UI | Yes — nameserver swap with 1 click | Requires manual nameserver change elsewhere | Requires manual DNS config | Requires manual DNS config |
| Built-in SSL certificate | Yes (auto-provisioned) | Yes (free, auto-renewing) | Yes (free, but requires domain verification) | Yes (paid only) |
| Cache control UI (no code) | Yes — visual cache rules in NamesLink dashboard | Yes — simple toggle + custom rules | Yes — rule builder, but less intuitive | Yes — but clunky interface |
| Origin shielding (hide real server IP) | Yes (enabled by default when proxying) | Yes (orange cloud icon) | Yes (requires enabling) | Yes (requires configuration) |
| Average setup time for beginners | Under 7 minutes | 12–18 minutes | 20+ minutes | 25+ minutes |
Data verified as of 2026. Check vendor websites for current pricing.
NamesLink stands out because it removes the “registrar vs. CDN provider” handoff. You don’t register with NamesLink, then log into Cloudflare, then back into NamesLink to change nameservers. It’s all in one place — with contextual help built in.
Compare that to BunnyCDN, where you must generate a pull zone, set up origin rules, configure cache headers manually, then update DNS elsewhere. For a beginner, that’s three separate learning curves.
Also worth noting: NamesLink includes free WHOIS privacy on every domain — no upsell, no checkbox to miss. That’s not directly CDN-related, but it’s part of the same security posture. You’re not exposed at the domain level while securing your traffic layer.
Common CDN Setup Mistakes — And How to Avoid Them
Even with good tools, beginners trip up in predictable ways. Here are the top four — with fixes.
Mistake #1: Forgetting to enable proxy mode (the orange cloud)
In Cloudflare, gray cloud = DNS-only. Orange cloud = traffic routing through CDN. Beginners often skip this step — then wonder why their site isn’t faster.
Fix: Always click the cloud icon next to your A or www record until it turns orange. If you’re using NamesLink’s integrated Cloudflare setup, this is enabled by default.
Mistake #2: Caching dynamic content
CDNs cache static files — HTML, CSS, JS, images. They should not cache logged-in user pages, cart data, or admin dashboards.
Fix: Set cache rules to exclude /wp-admin/, /cart/, /checkout/, and any URL with ? or & in it. NamesLink’s dashboard includes pre-built cache rules for WordPress, WooCommerce, and Shopify — just toggle them on.
Mistake #3: Ignoring cache purge after updates
You change your logo. Upload new CSS. But your visitors still see the old version — because the CDN is serving cached files.
Fix: Purge cache manually after major updates. NamesLink lets you purge everything or target specific URLs. Bonus: you can set automatic purge on publish if you’re using NamesLink’s AI Builder.
Mistake #4: Skipping SSL enforcement
HTTP traffic bypasses CDN security layers. If your site loads over HTTP, attackers can intercept cookies, sessions, and form data.
Fix: Enable “Always Use HTTPS” in Cloudflare and set HSTS headers. NamesLink enables HSTS by default on all domains using its integrated CDN — no configuration needed.
When You Should Not Use a CDN (Yes, Really)
CDNs aren’t magic. They solve specific problems — and sometimes make things worse.
Don’t use a CDN if:
Your audience is 100% local. If you run a neighborhood bakery in Portland and only serve Portland, a CDN adds latency — not speed. Your origin server is already closer than any edge node.
You serve highly personalized, real-time content. Think live sports scores updating every second, or stock tickers. Caching defeats the purpose.
Your site has <50 monthly visitors. The overhead of DNS changes and cache management outweighs the benefit.
You rely on strict geo-blocking or IP-based access control. Some CDNs obscure visitor IPs, breaking firewall rules unless you configure Real IP headers correctly.
NamesLink handles all of these edge cases transparently. For example, if you enable “Geo-Restrict Access” in your NamesLink dashboard, it preserves original visitor IPs in logs — unlike some budget CDNs that overwrite them with edge node IPs.
Choosing the Right Domain for Your CDN-Ready Site
Your domain choice affects CDN performance — more than most realize.
Shorter TLDs like .com, .io, and .dev resolve faster globally due to root server prioritization and broader DNSSEC adoption. Longer, newer TLDs like .photography or .technology sometimes suffer from slower resolution — especially in emerging markets where DNS resolvers haven’t fully cached their delegation records.
Verisign’s Domain Name Industry Brief notes that .com remains the most widely resolved TLD, with 99.98% global DNS coverage. That matters when every millisecond counts.
NamesLink offers competitive pricing across 158 TLDs — including low-cost options ideal for testing CDN setups:
.top: $4.98/year (first year).live: $2.27/year.xyz: $1.24/year (available via NamesLink Domain Search).com: $10.88/year for new customers (standard $11.50)
All include free WHOIS privacy — critical if you’re evaluating CDN providers and don’t want your contact info scraped.
Use NamesLink’s Domain Search to test availability and compare renewal rates side-by-side. Don’t just pick the cheapest first-year price. Check renewal costs — some registrars lure you in with $0.99 deals, then charge $40/year to renew.
NamesLink’s pricing is transparent: .top renews at $4.98/year. .com renews at $11.50/year. No surprises.
FAQ: CDN Setup for Beginners
What is a CDN, really?
A CDN (Content Delivery Network) is a group of servers spread across the world. Instead of loading your website from one location (your hosting server), visitors get content from the nearest server. This cuts load times, prevents traffic spikes from crashing your site, and adds security layers like DDoS protection.
Do I need technical skills to set up a CDN?
No. Modern CDNs like Cloudflare — especially when used with NamesLink — require zero coding. You change nameservers and flip a few toggles. If you can update your email password, you can set up a CDN.
Will a CDN affect my SEO?
Yes — positively. Google uses page speed as a ranking factor, especially on mobile. CDNs improve Core Web Vitals (LCP, CLS, FID) by reducing latency and improving resource delivery. According to Moz’s Beginner’s Guide to SEO, sites with sub-second load times see 2–3x higher organic click-through rates.
Can I use a CDN with my NamesLink domain?
Absolutely. NamesLink supports direct Cloudflare integration. You can enable it in seconds from your domain dashboard — no external logins, no DNS record copying. It’s built-in, not bolted-on.
Does NamesLink offer its own CDN?
NamesLink does not operate its own global CDN infrastructure. Instead, it partners with Cloudflare to deliver enterprise-grade performance and security — with simplified setup and unified billing. You get Cloudflare’s network, NamesLink’s UX.
How long does CDN setup take?
With NamesLink and Cloudflare: under 7 minutes. DNS propagation is typically complete in under 5 minutes. You’ll see performance improvements immediately — no waiting for caches to warm up.
What happens if I change hosting later?
Nothing breaks. CDNs sit in front of your origin. Switch your A record or CNAME to point to the new host’s IP or domain. Your CDN settings, SSL certificates, and cache rules stay intact.
Final Thoughts: Start Simple, Then Scale
CDN setup for beginners shouldn’t feel like assembling IKEA furniture without instructions.
Start with Cloudflare’s free plan. Use NamesLink to handle the DNS heavy lifting. Enable proxy mode. Turn on “Always Use HTTPS”. Done.
Then — and only then — explore advanced features: custom cache rules, image optimization, bot management, or WAF custom rules.
NamesLink gives you that foundation. Its Domain Pricing page shows real, up-to-date costs — no hidden fees, no surprise renewals. Its AI Builder lets you launch a site and enable CDN protection in one flow. And its Domain Transfer service makes moving an existing domain to NamesLink painless — with zero downtime and automatic DNS migration.
If you’re reading this, you’re ready. Not “someday ready”. Right now ready.
Go to NamesLink, check domain availability, and try the integrated Cloudflare setup. You’ll know in 7 minutes whether it works for you.
Because the best CDN isn’t the most powerful one. It’s the one you actually use.